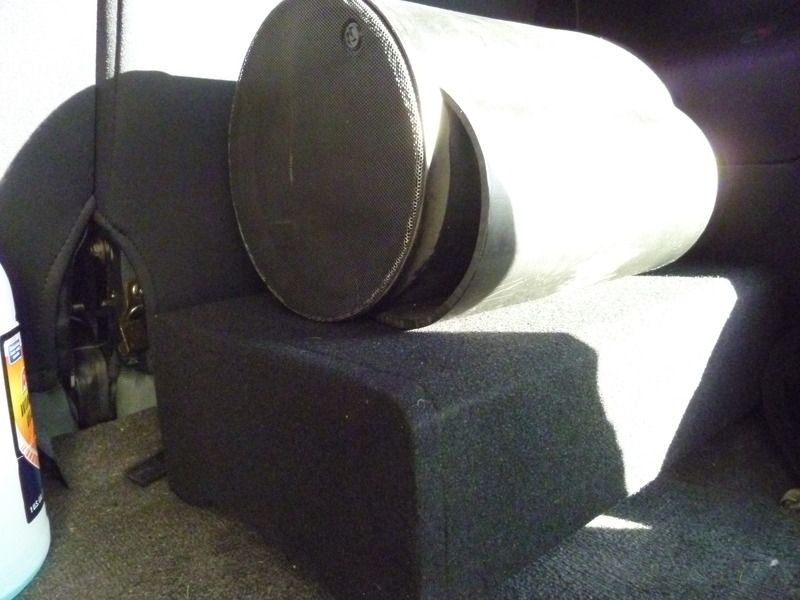
I know this is a somewhat old thread but I have searched, found a few places where it was asked but did not find real complete answers. With that said...
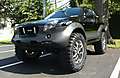
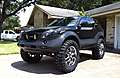
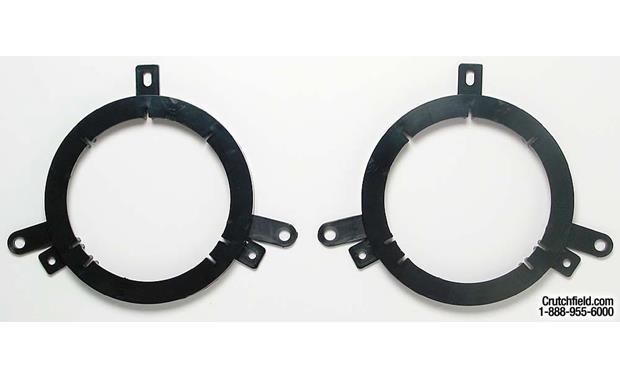
Does anyone know what both the front and rear speaker bottom mount clearance (space between the bottom of the mounting surface to the nearest opposing obstruction) and top mount clearance (space between top of mounting surface to the VX OEM grills) are?
These measurements are good to know when researching new speakers, etc and what would fit aside from speaker diameter and cutout. ANY feedback would be great! Thanks!

 Reply With Quote