After the stories you've told me about the neighborhood, I can't believe the city would crack down on you of all people. Crazy Mormons...... That sucks about the tree too, life always seems to have ways of kicking you in the nuts when you least expect it. At least now you have a good reason to liquidate some of your excess inventoryso who's up on the chopping block first?


 Reply With Quote


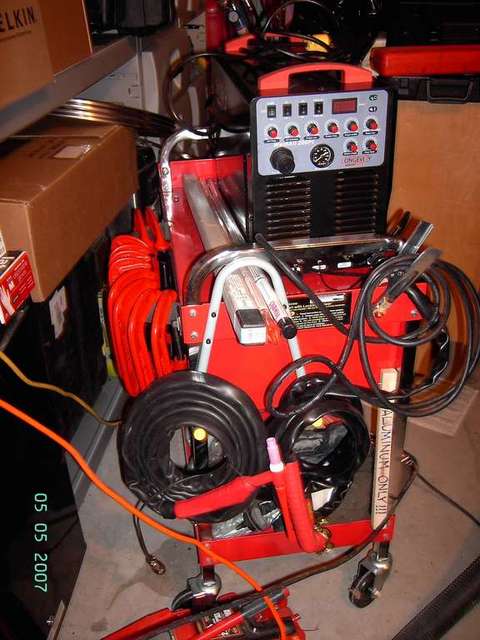
 ). Aluminum is great to learn on because it requires little to no prep between each weld unlike steel. I also got some 2% lanthanated tungsten electrodes since they are the non
 equivalent to the 2% thoriated electrodes. They also work really well on both aluminum and steel. But with quality TIG, you have to use a dedicated grinding wheel so you don't contaminate your tungstens so I grabbed an 8" wet/6" dry grinder specifically for that purpose
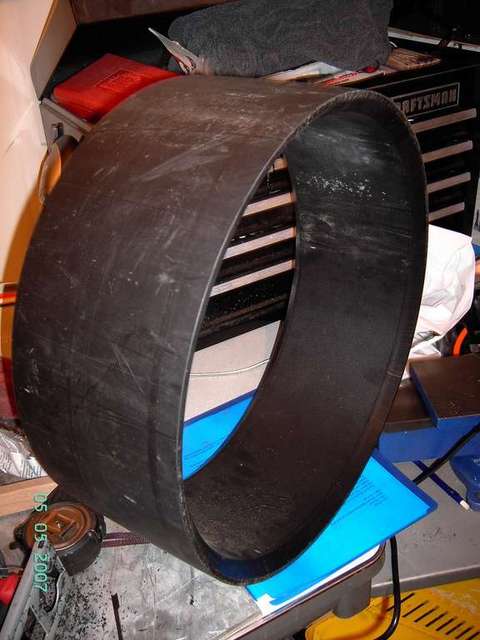
") . I also picked up a little wheel type attachment that lets you do perfect straight plasma cuts by keeping your torch from touching the metal and guiding it along rollers along the line. Somehow that last weekend, I also ended up with a hydraulic press whose ram can only be described as: "ridiculously huge" (See the tape measure in the following pic for size reference)I really want to turn it into a plate bender to make brackets and tabs with.
. I also picked up a little wheel type attachment that lets you do perfect straight plasma cuts by keeping your torch from touching the metal and guiding it along rollers along the line. Somehow that last weekend, I also ended up with a hydraulic press whose ram can only be described as: "ridiculously huge" (See the tape measure in the following pic for size reference)I really want to turn it into a plate bender to make brackets and tabs with. 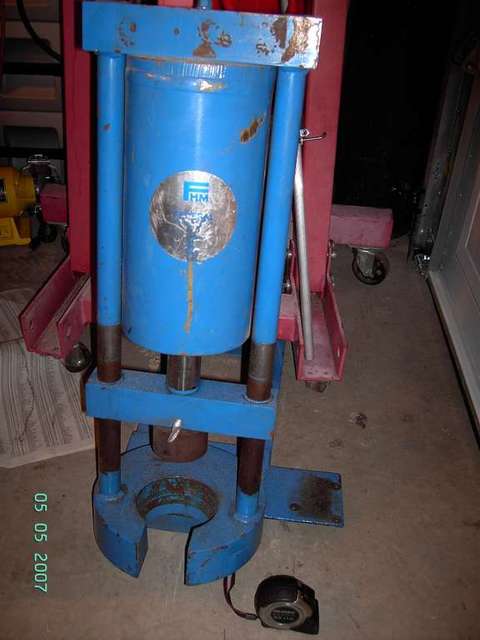
 .
. 

 for now, time to get back to work. This thing's not going to build itself.


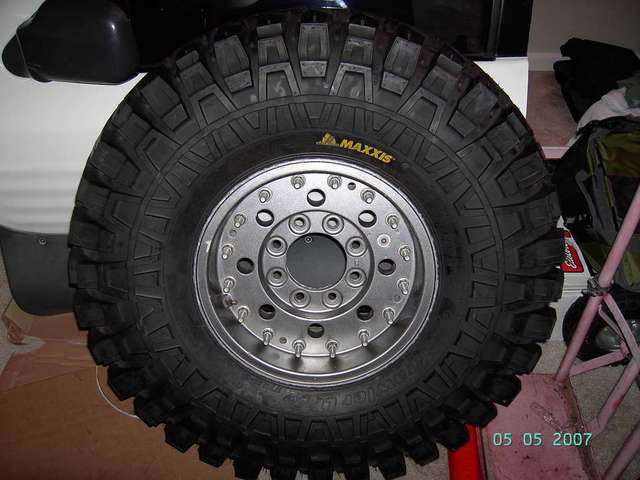
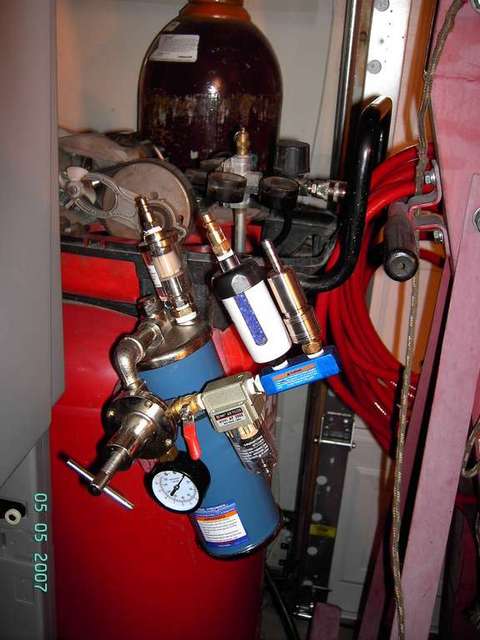
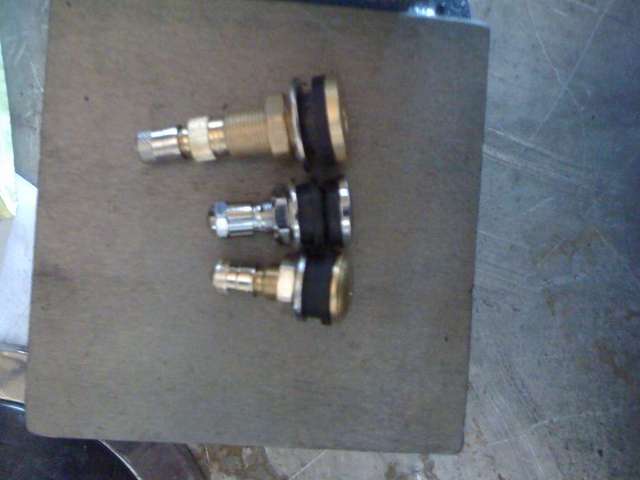
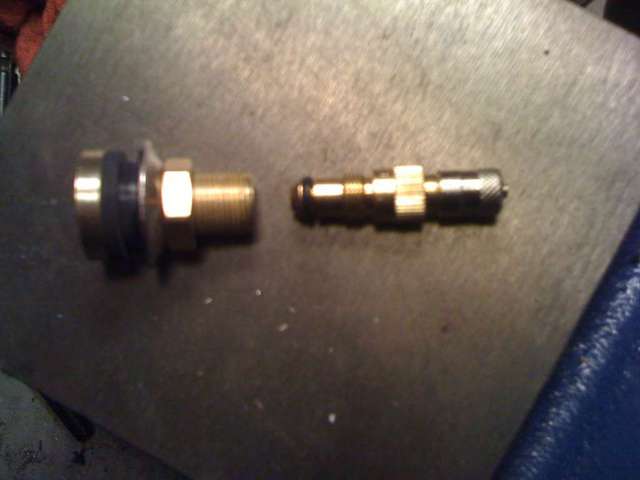
 ) Another thing to note is that the valves(all three) seal differently than your typical stock wheel valve. These valves are all metal with a rubber seal that sits inside the rim so it isn't exposed to sunlight or the elements. After seeing several rubber valvestems deteriorate and crack and leak air, I'm really liking this all metal design. The rims' valvestem openings had to be reamed out only slightly to accept the larger threaded portion of the tractor valves. The tractor valves also had to be turned down at their base from 7/8"(0.875) to 0.800" to fit in internal slot inside the rim itself. Without furter ado, Here's the pics:
 At least on the Hutch's you can tuck them out of the way enough to protect them from trail hazards.