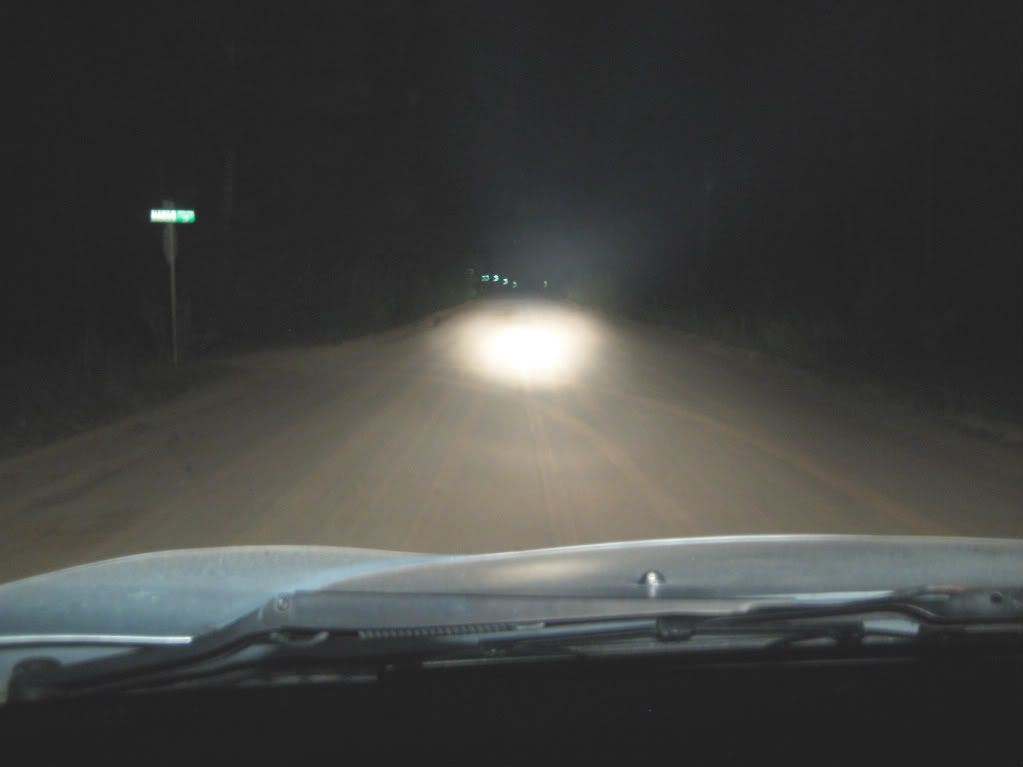
OK 1"... then its OVER!
OK 1"... then its OVER!
Sent from my "two hands on a keyboard"
That's what she said lol
I take it your tired of seeing CB pics
1999 Isuzu Vehicross-#1209- lots of mods - gone
1995 Honda Passport: Lifted, Locked, 34x10.50's, just a few things..-Click for build thread
LMAO!! Nope, just looking forward to the next mod!
well I should get a few things today and hopefully by the end of next week I'll have everything I ordered
Well I got to test fit my new rack and lights today, waiting for my crossbars to come in that I'm hoping will work.
I also mounted this little guy
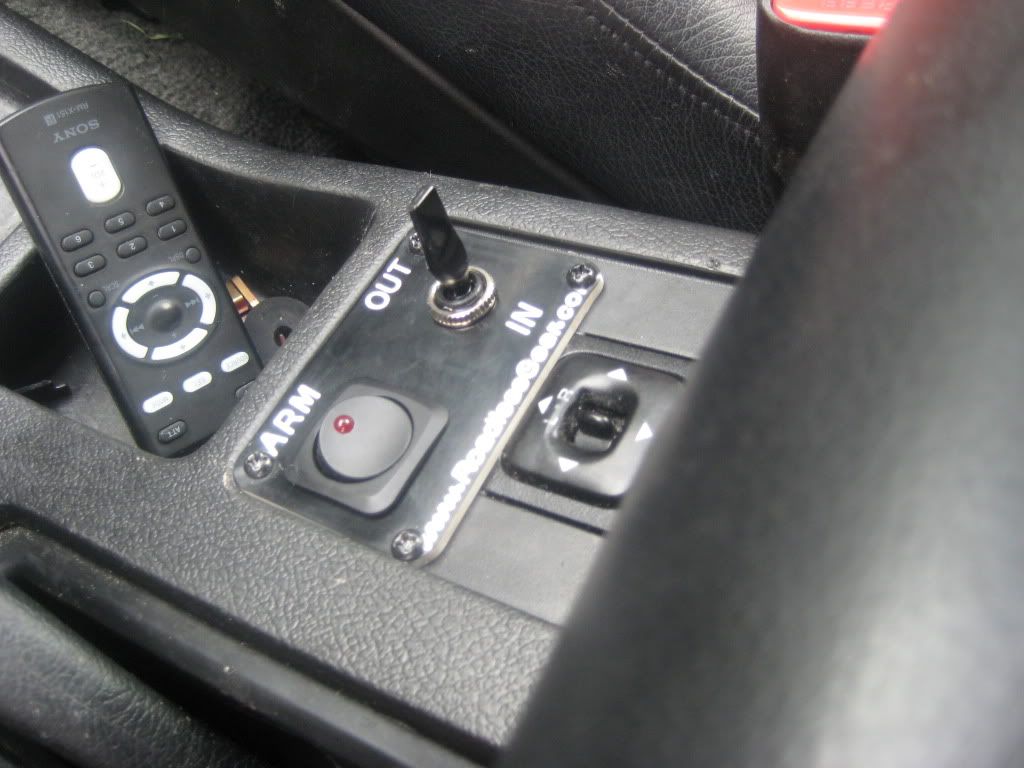
What does that doooooooo. LOL. I never thought of removing that switch there and doing something like that. I feel like I just wanna steal ideas from everyone here. I like that!
haha ya I was looking around for a place and I saw that area so I popped the switch and the blank plate out and sat it there and it fit almost perfect. I'm gonna extended the wires for the heater mirrors up to the dash soon and put it there along with my light switches
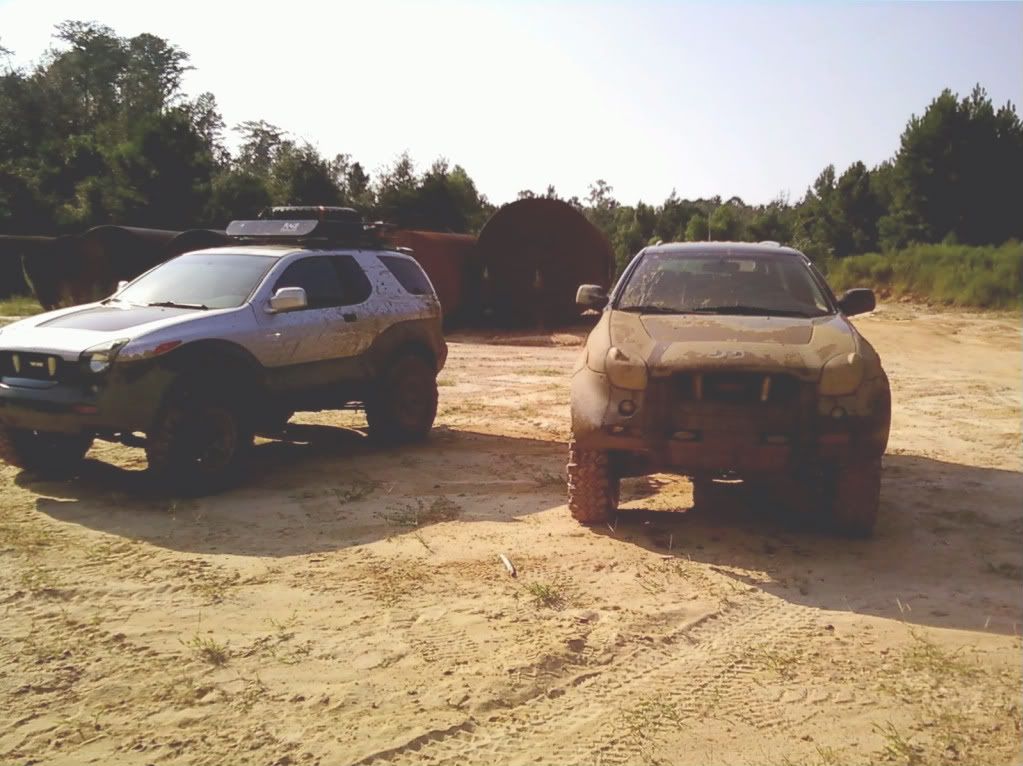
Here's an update for my thread, customized a Rage roofrack to fit the VX roof rails and got my basket mounted. Took the VX for a little offroad trip with a buddy of mine who just recently bought an 01' Ebony, it was his first time out and we had just finished the lift and tires the day before:
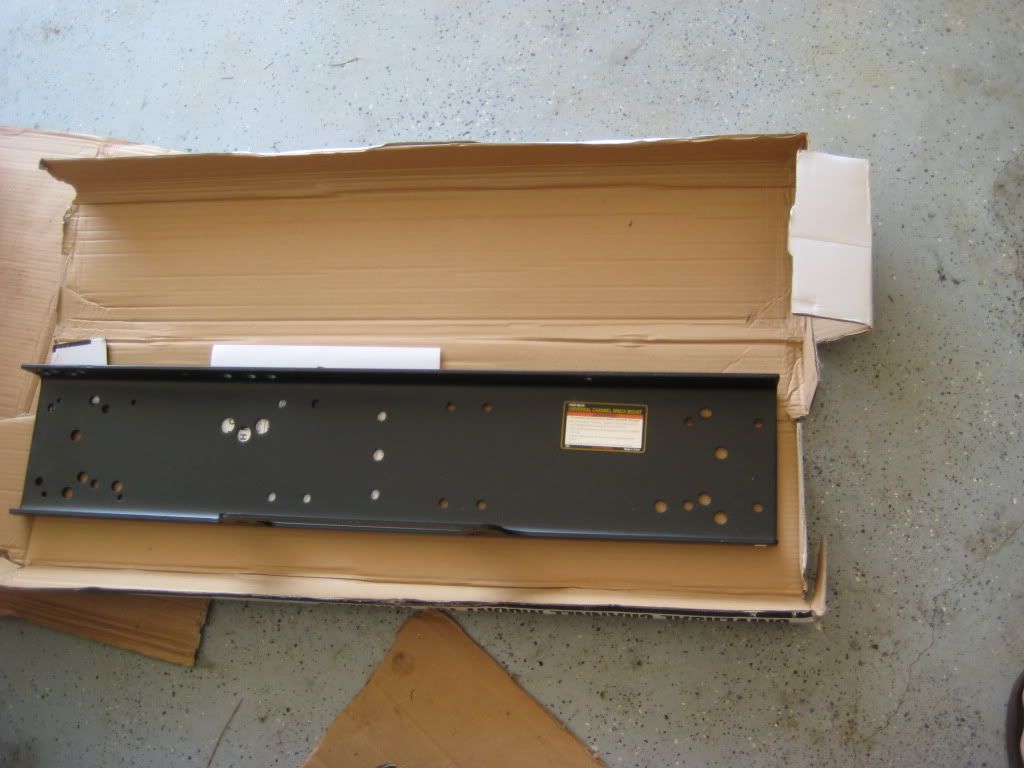
Winch and winch plate are in, gotta start working on that soon:
Cleaned her up today (finally :lol: ) and got her looking all spiffy again:
In this pic you can see the big scratch running up the hood:
TADA!
it ran up the hood, up the windshield and then down over the passenger door/1.4 window and left a scratch from the side window all the way to the taillight, now you can barely tell it's there, the worst was the hood
Gawd, what an ugly VX! (Today opposite things saying am I.) Hate that VX.
LOL, thanks Zeus, I think, or should I say screw you Zeus! I was cleaning up and found some of this old tire gel I used to use in my car show days, it was the best thing I ever found for tires, looked good for a long time so decided to try it on the cladding, we will see how it holds up to my dirt road lol:
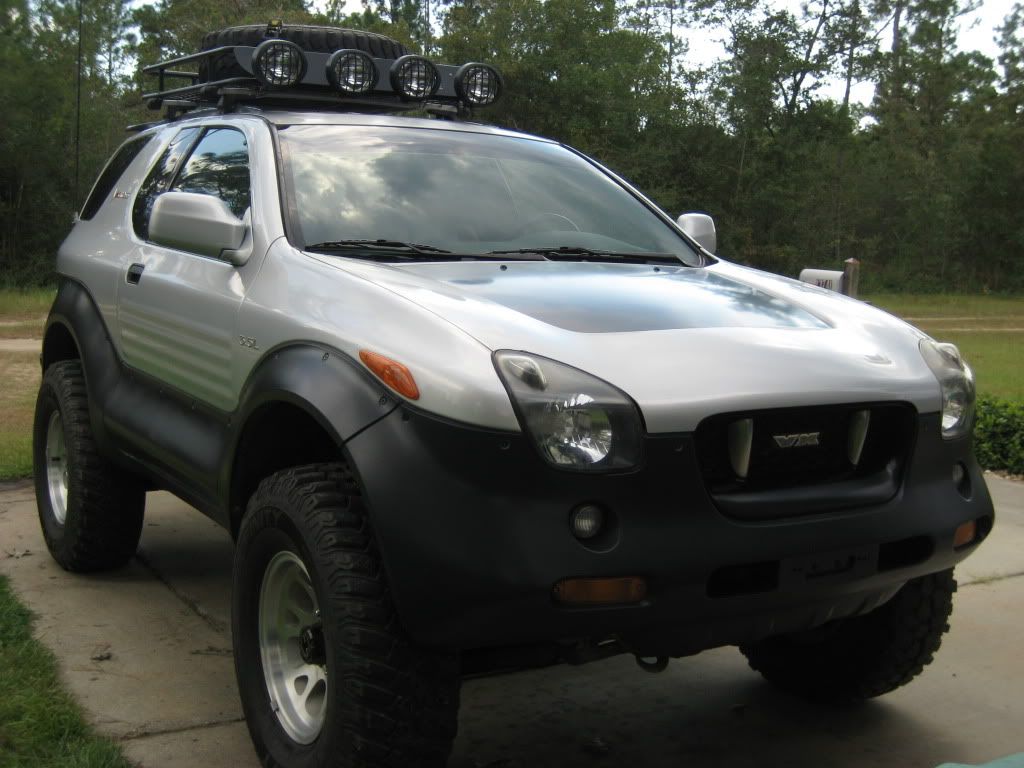
Well, I got the lights mounted almost a week ago but didn't get around to wiring them up between the kids and the oh so hot weather lol. Finished everything up today and decided to take some pics and do a little write-up.
I purchased 4 long-range 100 watt off-road lights from harbor freight to mount on my roof rack. I went with these because I tried them out on my 97' Rodeo before and was very pleased with the quality and brightness for the price (spent less than $50 for all 4). Plus I like the hard black plastic housing with light guards too. I mounted them using 4 CB antenna mounts bolted to the roof rack:
I ran the main power wires for the lights to the underhood fuse box, since the wiring included with the kit had inline fuses etc, I used the main power supply stud on the fuse block to connect the wires to:
I ran the wiring down through the grommet on the passenger side firewall, down under the footwell portion of the carpeting, up behind the center portion of the dash and up inside the lower steering column section and up to the far drivers side portion where my new switch panel is mounted. I took some pics of just the wiring and then went back over everything with wire loom:
(as you can see, the fuse holders are tucked behind the center area here, I left them somewhat exposed for the pic and tucked them back when finished, I can easily reach in and access them for fuse checks)
Now this little "grabber" tool is awesome, I have 2 of these, just route it where I want the wires to go, and grab the wires and pull them through (a coat hanger and tape works too but this works awesome, and I had the tool so I use it lol)
I used the dash mounting stud here for my ground for the switches, I added a washer so the ring terminal is contacted by metal on both sides when tightened down:
Here is the new Rodeo switch panel (thanks Bart!). The first 2 switches (left to right) are for the 4 lights up top (one per pair, I'm thinking about rewiring everything to one switch but It's nice to have a choice of not using all of them) and the far right switch will either be for a pair of rear lights I'm thinking of adding or something else I'm sure I can use it for eventually lol. I had it so I used it to fill in the panel.
I ran the roof wiring down through the door channel, using some excess weatherstripping to shield it from the door, and tucked it inside the interior panels, everything is down through the panels and under the carpet up to the dash. I used the lower seat belt mounting bolt to run 2 larger gauge ground wires up to the top so I could have a good ground at the lights, one wire per pair of lights:
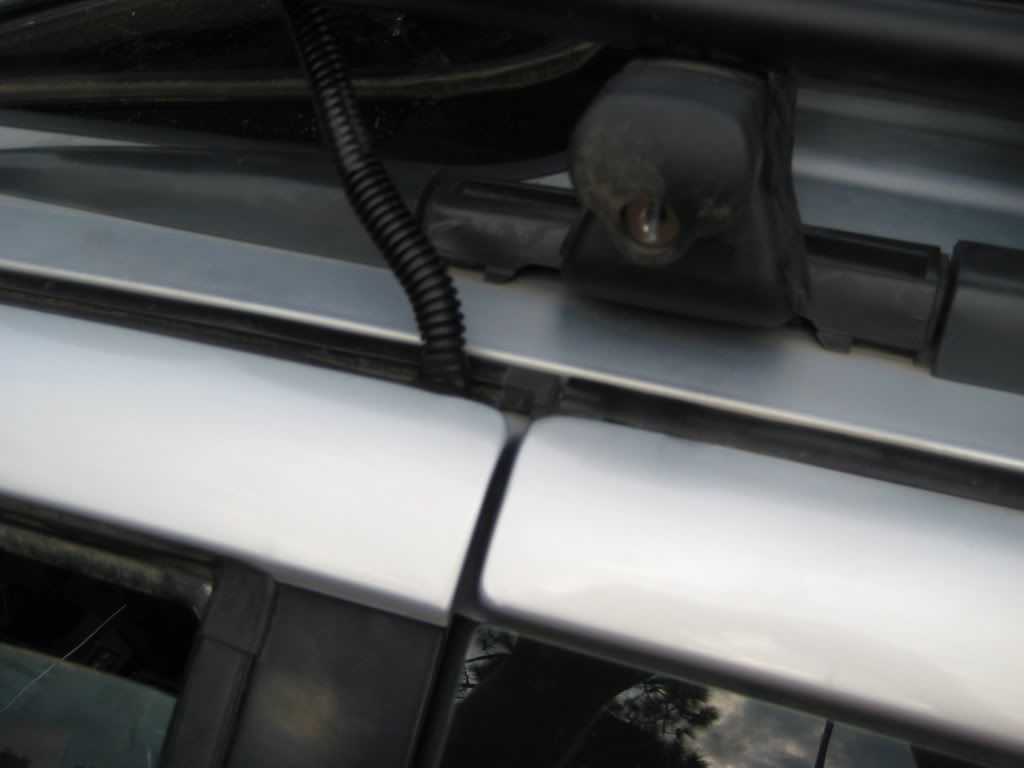
Here is the finished install on the switches and lights:
K, so decided to pull along the side of the house to take some pics of the lights at nightfall on my fence. Here are some daytime pics for distance reference (measured it out, it's about 50ft to the front portion of the fence fro where the lights are, and with the fence opened it's about 92ft to the rear portion of the fence)
Here are the night pics:
Just headlights:
Just roof lights:
Headlights and roof lights:
With the gate opened:
Headlights on with gate opened:
Just for reference, I took this pic with all lights off (I have not a single piece of externally lighting on the house for these pics, and the street light is out so it's REALLY dark)
I parked in front of my neighbors house with the truck pointing towards the end of my street, it's gotta be at least 30 yards
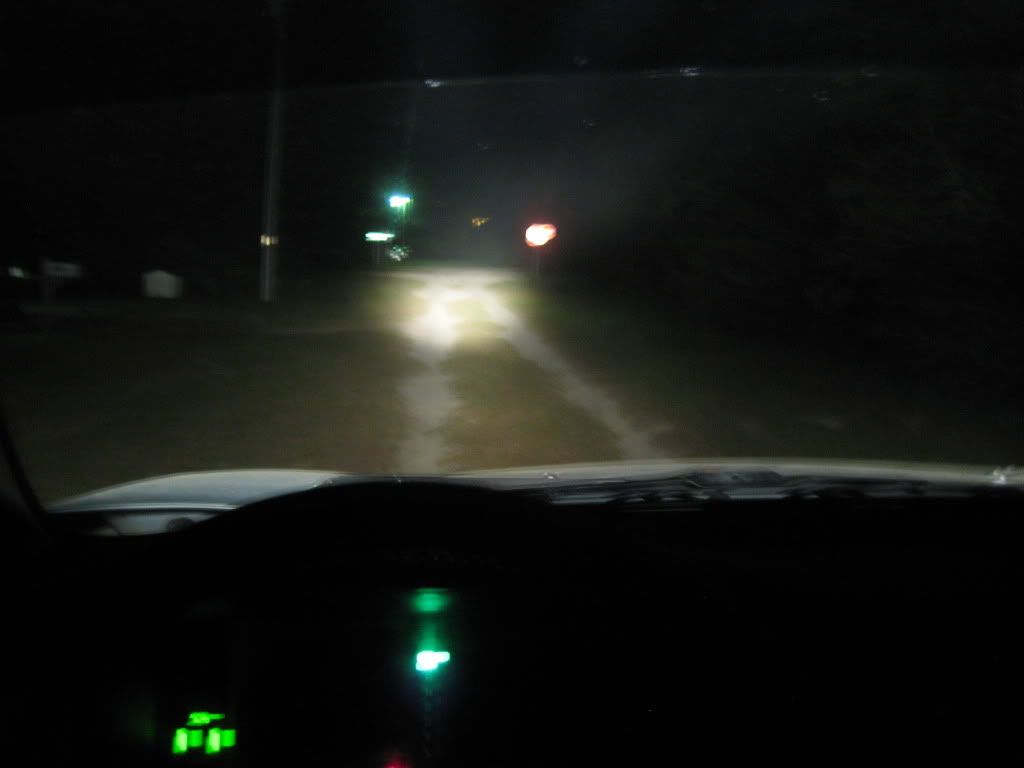
went down the road a minute ago for a better pic. This dirt road is pretty wide and long (haha). I can park across it and there would still be room for a truck to get by.
Just headlights:
Just rooflights, headlights off:
