For some reason I am having issues with putting them in my gallery, but I got them in my photobucket so here are the pictures I promised.

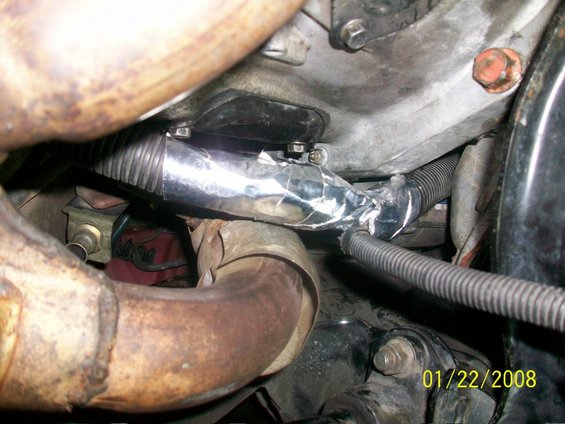
I have the main harness installed and all the O2 sensors connected. To connect the last O2 I had to spilt the O2 wires out and make a separate housing. The last VX O2 sensor on the passenger side will now be the last sensor on the driver side, this is because we used the Trooper head pipe. I fabbed a heat shield out of the old starter shield. I am pleased it will protect the wiring.
Here I am separating the O2 wiring from the stock wiring harness...
Here is where I "Y" the harness...
Here you can see where I routed the new O2 harness...
The connection is made above the transfer case...
The finished install...
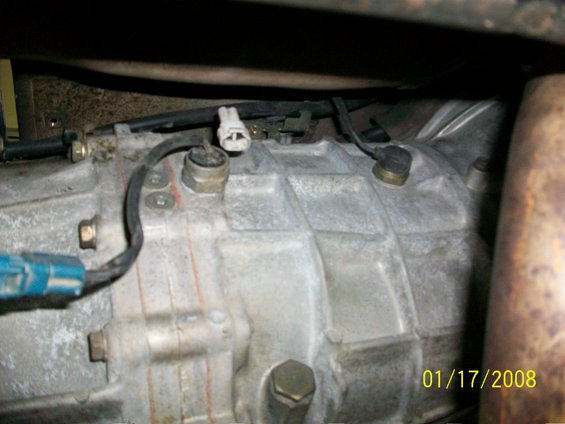
This is the passenger side of the transmission. The sensor with the blue connector is the backup light sensor...

I'm late to the thread....sorry.
Did you hang the third pedal? How tight was/is the footwell for you? I have size 13s....I need room, But the box seems big enough...yes? At a glance it seems straightforward enough.
A Deadpedal would be nice too....but that ain't happening with the clutch
I installed both the clutch and brake pedal from a manual shift Rodeo. It is a little tight in the foot well but I have very long legs. Size 13s might be a challenge I would find a manual Rodeo and check that out, the VX would be the same. Hanging new pedals is straight forward, just a lot of sharp corners to deal with. One headace was getting the security computer(s) remounted out of the way. I ended up velcroing them to the ac housing and it worked out pretty nicely.
Chopper - I wear size 13's too so I'll be able to give you a good review when I get it back. Here's a picture with the pedals installed; as you can see the manual brake pedal is smaller than the auto brake pedal, so while it might be a little cramped between the clutch and brake it should actually cut down on the number of times I accidentally hit the brake and accelerator together. I agree that a dead pedal would be nice, I'm actually considering replacing our pedals with 350Z aluminum pedals if they fit.
Here's a pic of the new footwell:
And here's a pic of the 350Z pedals:

Greg - Couple questions for you:
First, is that the catalytic converter in the upper left of this pic? If so man that's a lot of rust!
Second, I assume you have the wires zip-tied to the cross-member. Do you think there will be a problem when I reinstall my Kilby skid plates? And do you think I could just "lay" it in the bottom of the skid plate?
Last, do you still need the connector you mentioned in the earlier post? Or did you work something out?
Lookin' awesome Greg!!!
Yes that is the cat in the first picture, there really isn't as much rust on the pipe as it looks in the picture. It just looks dirty in the pictures. If there were tons of rust that I was not comfortable with I would have let you know about it.
The wire is held to the cross member with factor ties and is in its original location. It should work fine with your Kilby skid plate if you previously did not move these wires.
Jerry is sending me the connector I was wanting. He even went as far as to mark which wires should tie into clutch switch, etc. I hope to get that in the next day or so and get this puppy back on the ground and back in your anxious hands!
Cool, thanks Greg!
I have completed the wiring. I tested everything out and it all seems to work perfect. I need to bleed the clutch again to make sure all the air is out. It seemed to be a bit soft after I cranked it up and ran it through the gears.
Here is where I routed the new wire harness through the fire wall.
This is the clutch switch. This is where you connect the starter relay (large red & yellow wires on connector)
This is the neutral switch. This is where you connect the cruise wires.
Don't get these two backwards. The clutch switch completes the circuit when you press the clutch allowing the are to start. The neutral switch comletes its circuit by being closed so when you depress the pedal you break the curcuit thus causing the cruise to disengage.
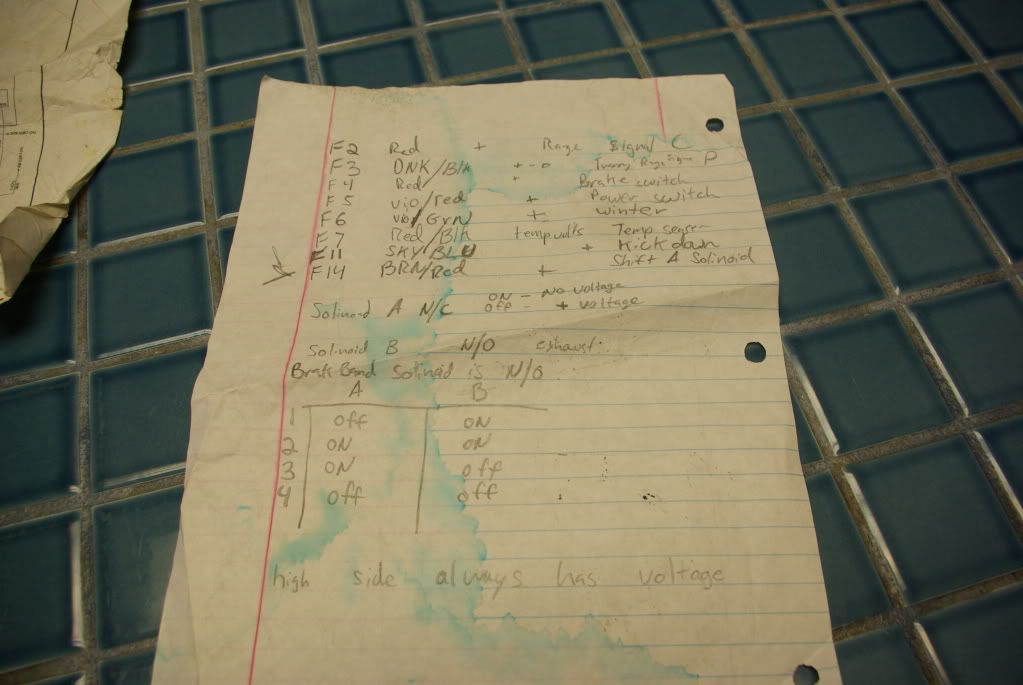
Here are the wiring notes on the wiring harness...
The first picture refers to the blue wire and organge wire with black stripe...
New harness run under the car and connections about to be made...
I wrapped the wire harness with some heat shielding tape to further protect it from heat...

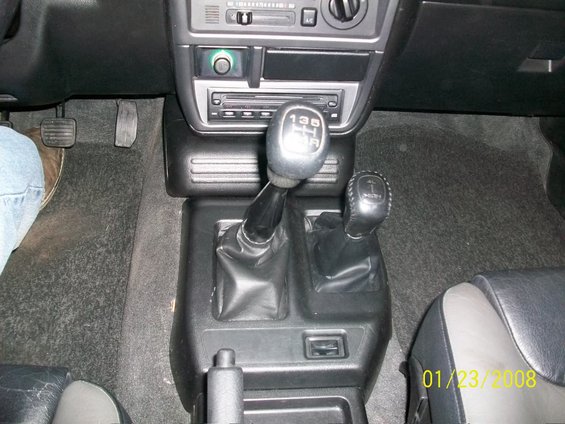
Completed interior!!

Absolutely fantastic!!! Now how in the heck am I supposed to sleep tonight knowing that she's coming home tomorrow?!?


Yay, looks great.