Page 3 of 5 FirstFirst 1 2 3 4 5 LastLast
Results 31 to 45 of 61

Thread: And so it begins...

  1. #31
    Member Since
    Jan 2012
    Location
    2001, Ebony Black, VX
    Posts
    180
    Thanked: 0
    Scott - sorry, but I think I am going to keep my stock wheels and tires as both a spare and a back-up in case I have to drive the VX any distance. However, if I find one that is in perfect shape I may be willing to work something out with you. I'll let you know.


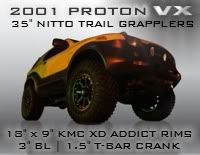
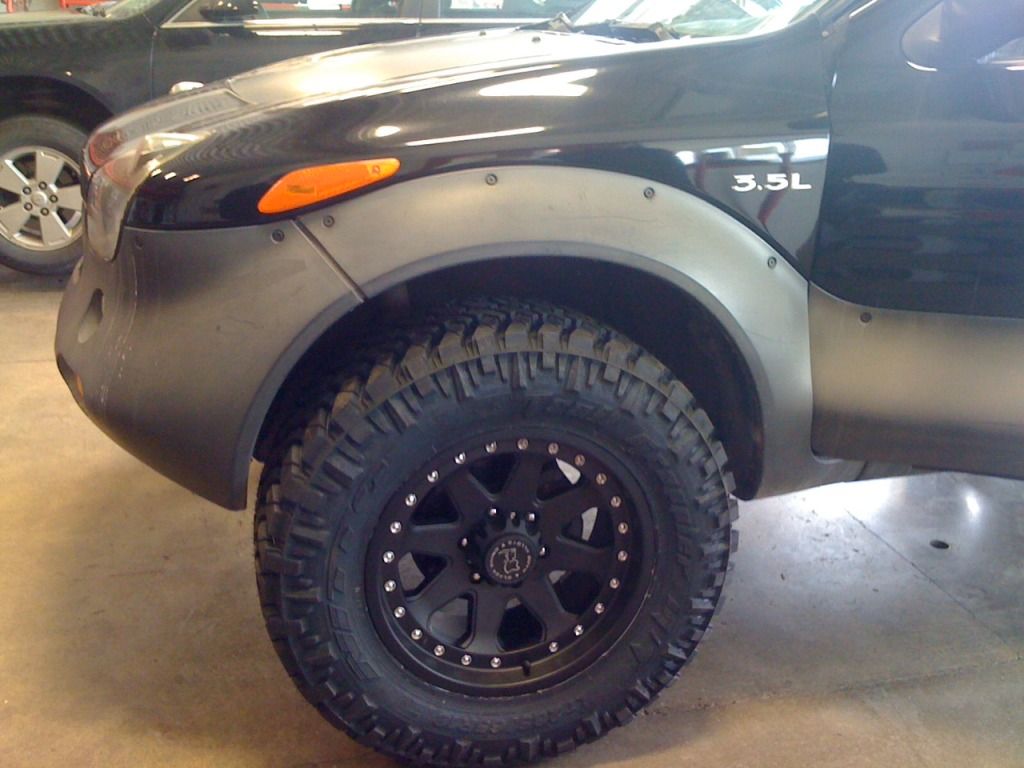
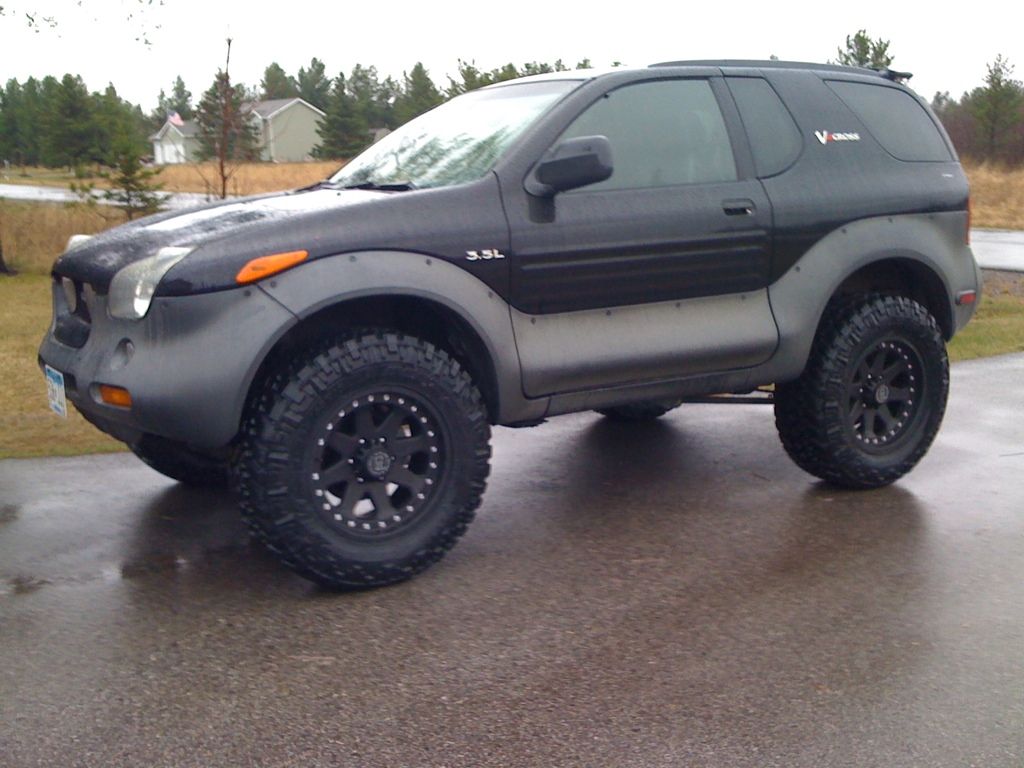
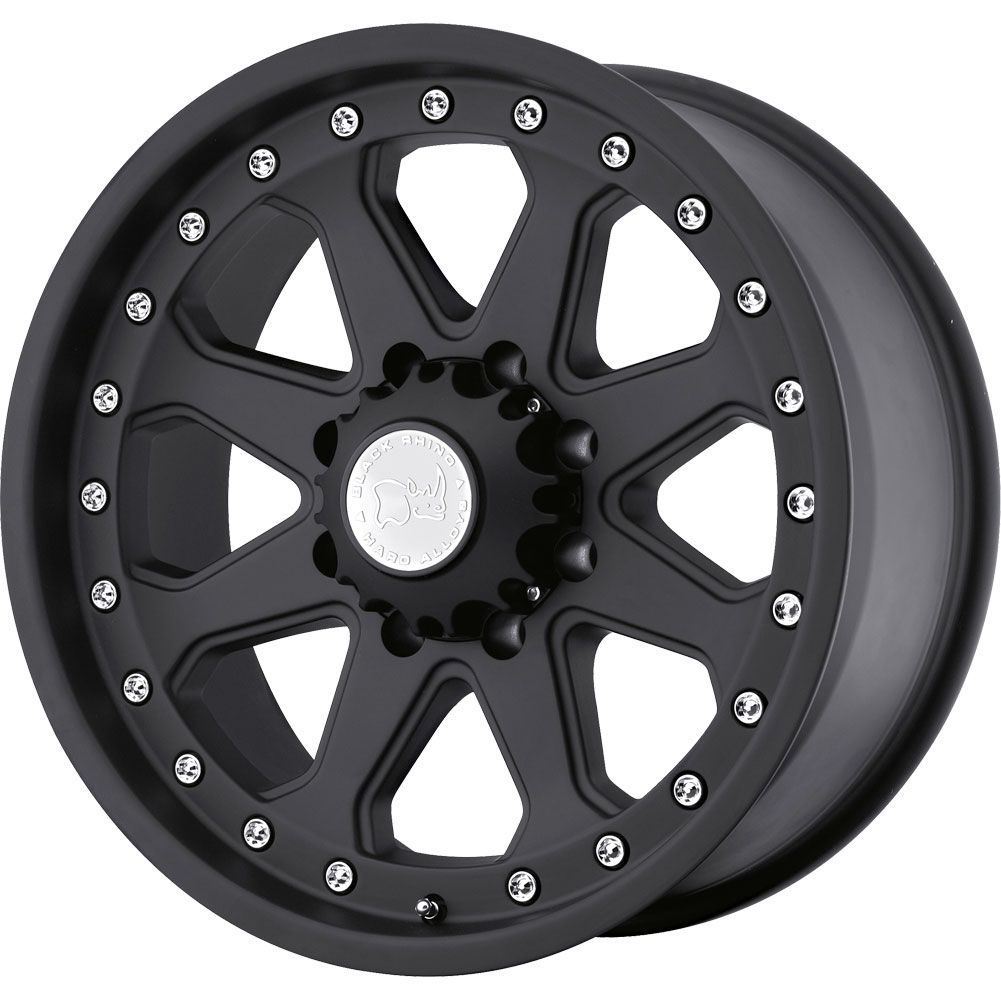
    Pic of what the wheels will look like:
    '03 Honda CR-V (DD) - '05 Jeep Wrangler Rubicon - '01 Ebony VX!

    A smile is like tight underwear, it makes your cheeks go up!

  2. #32
    Member Since
    Jun 2004
    Location
    99 Astral Silver VX #1872 + 99 Ironman WIP
    Posts
    10,613
    Thanked: 1
    That's gonna look SWEET!...

    Might need a hole saw & a little creativity to make the center caps work with the front hubs...
    Last edited by Ldub : 04/04/2012 at 06:20 AM

  3. #33
    Member Since
    Dec 2008
    Location
    99" silver Vcross #1307
    Posts
    147
    Thanked: 0
    Wake your VX up take the stupid stock muffler off, day and nite performance

  4. #34
    Member Since
    Jan 2012
    Location
    2001, Ebony Black, VX
    Posts
    180
    Thanked: 0
    Quote Originally Posted by Ldub View Post
    That's gonna look SWEET!...

    Might need a hole saw & a little creativity to make the center caps work with the front hubs...
    Well, hopefully the fabricator boyfriend can help me out there! I would be sad if they don't fit

    I'm EXCITED!

  5. #35
    Member Since
    Apr 2010
    Location
    2001 Proton
    Posts
    53
    Thanked: 0
    Nice rims, look similar the KMC XD's I just put on mine, hope you got the whole offset thing figured out, was a pain for me....butb came out good in the end.

  6. #36
    Member Since
    Jun 2009
    Location
    99 Matte Midnight Sand Met... oh nevermind. VX #0377...Project ZU
    Posts
    2,656
    Thanked: 4
    Quote Originally Posted by jeeperkate View Post
    Well, hopefully the fabricator boyfriend can help me out there! I would be sad if they don't fit

    I'm EXCITED!
    If the center caps don't fit, just buy some manual hubs. They look good and can help save a half shaft if you have a CV boot rip.

  7. #37
    Member Since
    Jan 2012
    Location
    2001, Ebony Black, VX
    Posts
    180
    Thanked: 0
    We did a test fit today!!! (the center caps fit perfectly) That means, the wheels/tires go on THIS WEEKEND. We will start modifying on Friday. Woo hoo!

    They stick out a little further than I had hoped, but I am OK with it. I was looking for rims with about 18-20mm offset, but these were 12mm. I liked the wheels so I went for it. I think they are going to look REALLY NICE though!

    What do you guys think?


  8. #38
    Member Since
    Jan 2012
    Location
    2001, Ebony Black, VX
    Posts
    180
    Thanked: 0
    Next on the list - get the cladding restored!! That light grey looks terrible!

  9. #39
    Member Since
    Jun 2009
    Location
    99 Matte Midnight Sand Met... oh nevermind. VX #0377...Project ZU
    Posts
    2,656
    Thanked: 4
    The rims look great but we need a full VX shot to really see the results.

    I just bought another bottle of showroom new in black... works & looks great BUT it can come off if you drip gas on the cladding. I just spilled some gas on the cladding last night even though I'm usually very careful. I still recommend SN, just keep an extra bottle for when (and it is when not if) you get gas on the cladding.

  10. #40
    Member Since
    Feb 2007
    Location
    2001 Proton VX #0690
    Posts
    685
    Thanked: 0
    Those 285/65R18 work?? Huh. I'm looking at something to put on some 18x8.5 rims with a 10 or 20mm offset. I thought I would be pretty much maxed out at 285/60. I didn't think those TrailGrapplers would fit, but they seem to be mostly working for you.

    I'm eager to hear if they're viable! I've got a set of 912s begging to be installed, and I fear my old 255/55R18 tire are going to look silly.

  11. #41
    Member Since
    Jun 2010
    Location
    99, Silver, 1784
    Posts
    854
    Thanked: 0
    I've been on 285/65 18 Nitto Trail Graps on 18x9" +25 wheels for a couple of months now.

    Need slightly more significant trimming than others, and some BFHing the back side of the front wells, but other than that? No issues at all.

    -V
    -VI VX VNIVERSVM VIVVS VICI-

  12. #42
    Member Since
    Jan 2012
    Location
    2001, Ebony Black, VX
    Posts
    180
    Thanked: 0

    285/65 18X9 +12mm offset

    The tires and wheels are on and trimming for fitment is done. The cladding restoration didn't happen since we needed to do some work on the rock buggy this weekend as well. But here is Betty looking good!!


    Since there really wasn't any definitive thread on how to go about fitting the 285/65R18s in the VX's front fenders I made sure to take some pictures. My guy and I did the passenger side first and did it just a tiny bit at a time so we could get it right. When we went to the driver's side we measured and only cut once. Here were the tools we used other than the standard jacks and such: Sawzall, BIG hammer, a 10mm socket and another small one (can't remember the size), pliers, file, torch, a couple of steel pieces, drill, and a pop-rivet gun thing. I am going to warn you that I am not an expert and may not explain things perfectly, so just let me know if you have any questions!

    On the driver's side we started with the rear side of the fender. The first thing we did was take 2 of the 10mm bolts out of the fender/cladding and all the little screws with plastic backings off of the fender from the middle of the fender to the rear. Then you can move the inner liner of the fender to get to the metal behind it.

    The next thing we did was to get the sawzall out. The only sawzall cut we made was from 4.5" below the 10mm bolt (you can see the hole in the middle right of the pic) and went diagonally toward the brace on the inner side of the fender. Part of the diagonal piece you cut off includes one of the 10mm bolt holes and there is a clip on the hole that you need to remove and reuse later.


    Next, we took out a big hammer and piers and cranked the inner fender around. It doesn't take much, but when you push in the inner fender the bolt tabs will need to be bent back as you will be using the lower bolt hole for the 10mm bolt and clip you cut off.


    Next, we used a torch to heat up the fender liner to flatten it out a bit. I do not have pics of this process as I had a torch in my hand at the time. We used a really low setting and heated and used two pieces of metal to get the plastic to go a little more flat as we were having trouble with this section sticking out when fitting the tires. (you can see the portion we re-bent in the picture with the drill. Its the section to the left and below where the drill hole is.)

    Next, we refit the fender guard into place and marked the spot where we put the 10mm clip we stole from the piece we cut off at the beginning. We drilled a hole through the liner where we will reuse the clip and bolt.


    Lastly, the cladding hangs a bit funny under the door since we cut off the connection point, so we put a pop-rivet through the cladding and sheet metal below the door maybe a cm behind where we cut (no pic). After that, put all the little bolts & plastic things back in and stand back and appreciate your work...apparently I didn't appreciate this part enough because I forgot to take a final picture of the back of the fender. I will do it tomorrow and post up.


    The second part is the front. I don't really know a good way to tell you how much to cut off, but I can show you a couple pictures so you can get an idea. If you want a measurement of something specific let me know, I still have the big piece we cut off. After cutting use a file to clean up all the edges - it looks GREAT!


    Well, it was a fun project. I LOVE the look of the VX now!!

  13. #43
    Member Since
    Dec 2008
    Location
    Former owner 2001, Foxfire Red, #0663
    Posts
    7,311
    Thanked: 33
    Quote Originally Posted by jeeperkate View Post
    .
    .
    .

    Looks great! Can see just a little bigger triangle and some BFH work, compared to the 285/60-18s.


    VX KAT
    ....the adventure BEGINS ANEW! ...2015......
    Remember that life is not measured in the breaths you take, but rather in the moments that take your breath away.

  14. #44
    Member Since
    Jun 2010
    Location
    99, Silver, 1784
    Posts
    854
    Thanked: 0
    Looking good, Kate! Remember to keep an eye on it for a few weeks as the ride "settles" in. Here's another little tidbit that discovered as well: with the lift, slight as it is, airflow is changed enough to catch the rear wheel well skirts and make them flap on rare occasions. Usually happens only in weird cross-wind scenarios. Freaked me out at first, thought maybe one of the cladding pieces had come undone and was catching air.

    What PSI did you decide on?
    -V

  15. #45
    Member Since
    Nov 2004
    Location
    1999 Ex-Ebony..Fully Line-X'd ..0189...THE "ORW".....matching Line-X'd Trailer made from a written off 2001 Ebony.
    Posts
    4,403
    Thanked: 14
    Love the look,,nice write up too

    Dont forget to have an alignment done.

    jo
    VX.info...PLEASE SUPPORT THIS SITE WITH YOUR VOLUNTARY $20 DONATION...
    Absolutely the best $20 you'll spend per year on your VX.


    ~ ~ > OFF ROAD WHORE <~ ~
    [SIGPIC][/SIGPIC]

Similar Threads

  1. Isuzu Impulse RS... another obsession begins.
    By VXorado in forum Chit-Chat ...
    Replies: 26
    Last Post: 04/03/2015, 04:58 PM
  2. VX Restoration Begins!
    By nfpgasmask in forum VX Talk...
    Replies: 25
    Last Post: 02/02/2012, 08:39 AM
  3. And so it begins...
    By Buffy in forum VX Talk...
    Replies: 138
    Last Post: 08/21/2011, 02:08 PM
  4. ...and so it begins!
    By alterastro in forum VX Modifications...
    Replies: 9
    Last Post: 06/19/2009, 02:58 AM
  5. and the silence begins...
    By ISCE in forum VX Talk...
    Replies: 10
    Last Post: 05/14/2008, 07:56 AM

Posting Permissions

  • You may not post new threads
  • You may not post replies
  • You may not post attachments
  • You may not edit your posts
  •  
$lv_vb_eventforums_eventdetails