It's been long enough. I should have kept up with this thread a long time ago. I've taken the last couple of weeks and worked extreeeemely hard in getting all this info together. So here we go...
TAILGATE - 1/2" DynaLiner, 1/4" DynaLiner used for trim
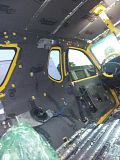
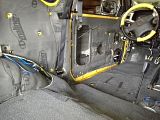
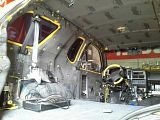
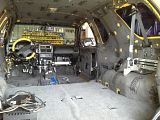
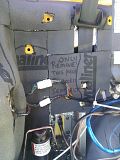
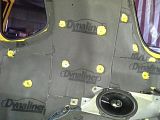
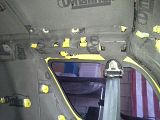
SIDE WALLS & CENTER CONSOLE - 1/4" DynaLiner with 1/8" DynaLiner connecting side walls to roof and in tight areas (trim)
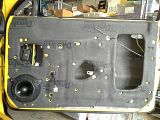
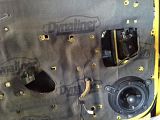
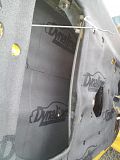
DOORS - 1/4" DynaLiner on exterior panel & interior panels
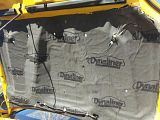
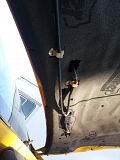
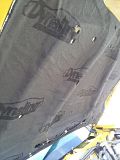
HOOD - 1/4" DynaLiner
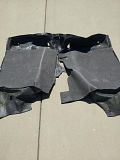
CARPET - DynaPad
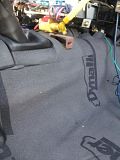
- I scraped off the OEM padding, but did it extremely carefully so that each piece was like a "mold" that I could use to make a new one from DynaPad. I managed to keep EACH piece of padding in such great condition, almost new-like. I had the carpets professionally cleaned and then I cleaned the backside of the carpet surface (has kind of like a plastic coating on it to hold all the fibers together) with the same surface cleaners used w/Dynamat using the same process. I made a duplicate of each OEM padding out of DynaPad and using 3M Spray Adhesive I attached each piece back to the carpet.
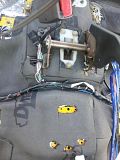
During this process I wanted to make sure that the carpet areas that don't have the DynaPad will still be "comfy" for people so any area where the carpet touched the floor and there was no DynaPad for cushion, I used 1/4" DynaLiner on the floor and used 1/8" around any tight area and along the edges.
If you use 1/4" around the edges, the carpet will be to THICK for the side wall panels to fit properly (been there done that). You must use 1/8" along edges where wall panels or headliner meet and attach.
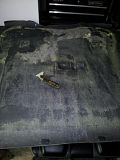
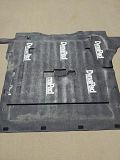
Note: On the last image, it looks like the padding is not attached. This is because this part of the carpet is not flat. It is purposely curved, so I decided to wait until I actually put the carpet back in until I sprayed it together. Moving the carpet around a lot caused it to come unglued the first time I tried.



 Reply With Quote