They are pretty easy to replace.
Jack up the vehicle by the frame, until the front wheel is off the ground.
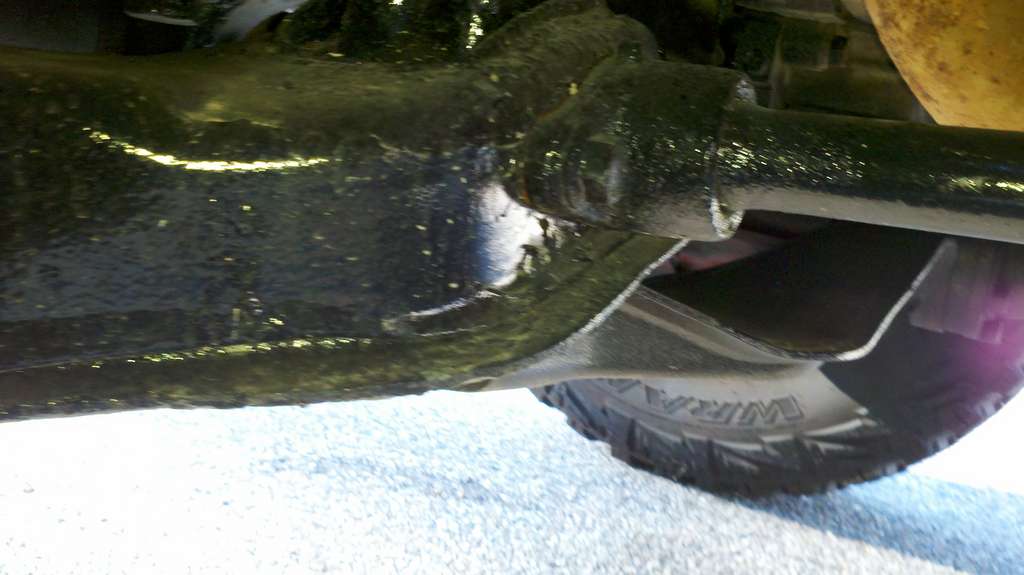
'Unscrew' the 27mm torsion bar adjustment bolt all the way and remove. Don't sweat the number of turns, it will be different with the new stiffer torsion bars anyway.
At this point, you want to pull the torsion bar from the front mount of the torsion bar on the control arm. You may have difficulty due to interference from the crossmember at the rear end; if so, loosen the 17mm bolts holding the front mount of the torsion bar on the control arm (might take a breaker bar for this, they are pretty tight in my experience), this will allow you to move the rear end of the torsion bar high enough to clear the crossmember. The front mount is not fastened to the bar, the splined end of the bar just slides into the splined mount.
Pull the adjustment arm off of the old torsion bar, again it is not fastened to the bar but just slides off.
Install is pretty much the reverse of the above process. A few notes:
The new torsion bars should be marked L and R, so pay attention. Check with the maker as to which end goes forward, I forget.
Grease the splined ends of the new torsion bar before install. Doesn't hurt to grease the bearing surface of the half-moon nut also.
'Clock' the adjustment arms up enough to give you enough swing for cranking up to your desired ride height.
95 Trooper with a buncha stuff nobody here cares about...


Originally Posted by Vendetta


 Reply With Quote