...as always....

...as always....

Not a problem. The spoiler curves up higher in the middle and measures 4.5" to the basket vs. at the spoiler edge it measures 5".
Parking in my garage was a requirement when I installed the basket
Thanks Dubby. I'm thinking about wiring the zombie light button to illuminate all of the off road lights... just for kicks... or zombies.
Here's some of the equipment i'll be installing over the next month.
10 & 12 Bolt Diffs with ARB lockers & 4.56 gearing. I've had the 12 bolt diff for over a year and just ordered the 10 bolt diff from indy4x.
Looks like I got the new ARB model for the 10 bolt...
Viair 444c 100% duty cycle air compressor- it will piggy back the york compressor for lockers & SFIFS
Stainless Steel Brake Lines
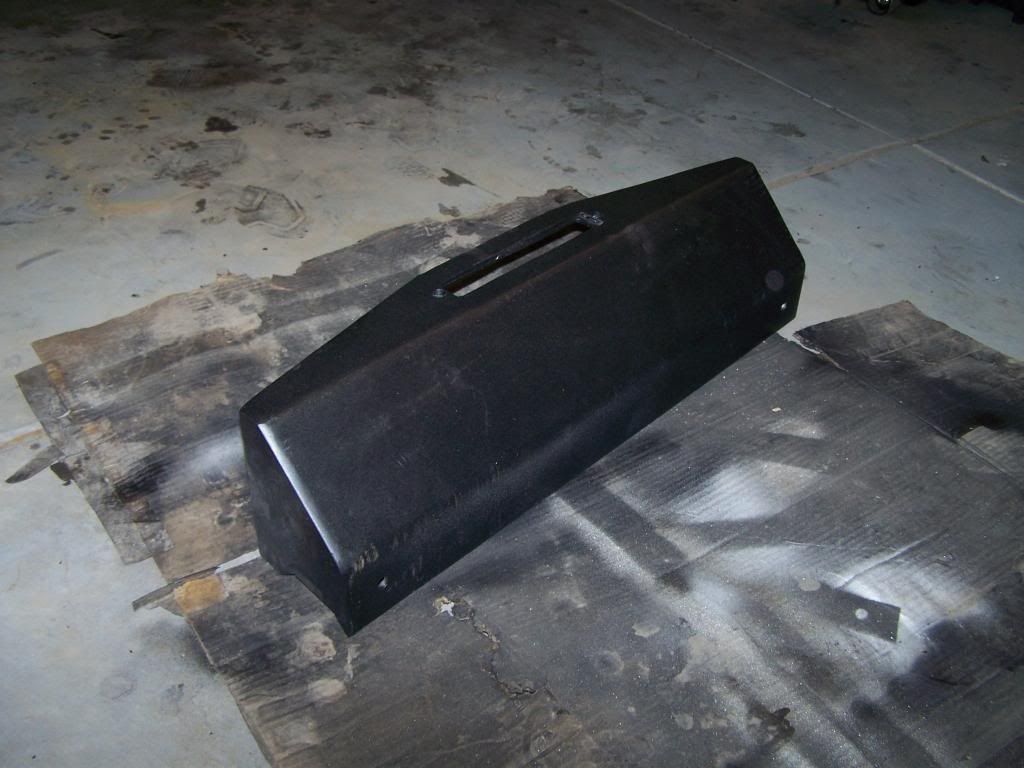
I've also been building a winch plate lower bumper. Another coat of paint and it will be ready to install.

And I'll be installing a Warn XD9000 into the winch plate
Updates to follow.
Last edited by VXorado : 04/12/2013 at 11:06 PM
Yeah boy!
Check out VehiCROSSAmerica on Facebook or @VehiXAmerica on Twitter
....
.....
jo
VX.info...PLEASE SUPPORT THIS SITE WITH YOUR VOLUNTARY $20 DONATION...
Absolutely the best $20 you'll spend per year on your VX.
~ ~ > OFF ROAD WHORE <~ ~
[SIGPIC][/SIGPIC]
Great looking build!
Wow, side by side really shows the difference in size between the 10 and12 bolt diffs.
Billy Oliver
15xIronman
My Sponsors:
Accelerate3Coaching
TriSports.com (PM me for 1 time use 20% off code)
I know!!! The 10 bolt is tiny and makes me a little worried about overall strength when locked. I'll be very "selective" in using the front locker.
Per Jo's Advice, I decided to get started on the diff swap this last weekend. Feeling ambitious, I dropped the front axle and swapped the 10 diff. It was a pretty straight forward process, but I did have a couple notes.
Indy4x did the gearing & locker install on the 10-bolt. The diff came with a U-joint drive shaft flange which needed to be swapped to fit our CV drive shaft. The drive shaft flange bolt requires a 30mm socket and an impact wrench for removal. Here's a pic to compare the open diff vs. ARB diff.
The diff drop procedure in the how-to section states the steering linkage needs to be removed. The pic below demostrates that the diff dropped can be completed with the linkage in place. Skip dropping the linkage to save time & effort during a diff drop.
BartManS4 was nice enough to give me a hand on Saturday. His newly painted VX looks great and I had a blast driving the 5-speed to the autoparts store. Thanks Scott.
Thanks for letting me hang out and learn my way around the VX drivetrain.
Unfortunately, I had to leave to help out a friend whose Land Rover Discovery overheated heading up to Blackhawk. It turned out to be as easy as bypassing the heater core since one of those lines blew. I told him not to push his luck but he went on up to Blackhawk anyway. Got stuck in traffic for an hour or two and then promptly lost $300 when he did get to the casino. He should have realized that when your car breaks down going to the casino it's a bad omen.
Scott
p.s. Don't get a friend with a Land Rover!
I installed the rear ARB locker on a cold snowy day. Everything went really smoothly except I didn't remove the ABS speed sensor before removing the axle shafts. I shredded one sensor and broke the other trying to remove it. I haven't had working ABS in a while... really not too concerned about the speed sensors.
Axle shaft pulled to remove 3rd member. Remove 4 axle bolts, brake caliper & speed sensor. The axle will slide out with little effort.
Speed Sensor 1
Speed Sensor 2
Tip: Use a jack after removing the 3rd member bolts to split the seal and make removal a breeze.
3rd member comparison
The lockers haven't been hooked into air yet and i'll be working on that this week. The re-gear to 4.56 is great so far. Better acceleration and the trans is able to stay within a better RPM range on the highway- no more up/down shifting when driving 70+ MPH.
Around $400 for the vinyl wrap.
It's been 6 months since the install and it still looks great. I hoping it doesn't get too scratched up on the trails.
I recently installed the winch and it's ready for recovery. I incorporated a skid pate into the winch plate which does sit below the bumper but has little affect on the approach angle. The winch plate sits directly on the frame rails and still needs tweaking in the future. The edges are 90 degree angles and stick out a bit from the rounded bumper but I may end up using the corners for a small stinger bar. Here's a couple pics... I thought I uploaded more to photobucket but can't find them for whatever reason.
Today I continued building SFIFS kits. My initial test fits are working well and I'll be able to test it thoroughly in Moab.
Wow. This is one heck of a build thread and we live ten miles away from each other. I need to buy you a beer one of these days and get some more ideas for mine. Wrapping up a lot of work on it this month and running out of things to do.