You're killin me, Smalls...
You're killin me, Smalls...
Sent from my "two hands on a keyboard"
Yep, it's been a busy week. I did take the VX for a short test drive and had a bad wobble. Since then, it's been back to work in the garage and I am waiting to snap pics until I'm really finished with everything.
As for the wobble- I had ignored a couple things with the axle hoping I could get away with not replacing. I was using old tierods, ball joints and hadn't checked the bearings. This last weekend I went through everything and replaced all joints with Moog & one outer bearing. Hopefully the issue is fixed since everything now is brand new and tight.
Additionally, my axle is 5x5.5 and I had talked myself into spacers that convert the pattern to 6x5.5. The spacers were 2" wide which we're putting extra stress on the hubs. They also made the front tires stick out a bit too far. Now I have a matching set of rims in the 5x5.5 pattern on the way. Not ideal to have different patterns but better than using the spacers. I can switch out the hubs someday for 6x5.5 but it's a bit of a challenge finding the right parts.
I still need to come up with a driveshaft & lift the rear... and the VX goes in for gears on Wednesday... and hopefully the wobble will be resolved... then 300 Miles to Moab!
Anymore hiccups and I'll be driving a crossover to Moab.
Oh man, that is a lot to tackle before the maiden voyage! Wishing you luck!
Well, it's obvious now that I didn't quite make my Nov 8th deadline. Technically though, it was slightly driveable before the deadline but too many small details needed to be done and I didn't want to take a 300 mile test drive. Moab was still fun and did some wheeling in a 14' Rubicon.
Since returning home, it's been stupid cold. We left Moab with 60 degree temps and returned to Denver with 3 degree temps. I spent a full week without even stepping into the garage to look at the VX.
Things on the front axle i'm still working on...
- Alignment- I'm adjusting the camber as it's about 1-1/2* positive both sides.
- Add a few gussets.
- Paint- I need to pull everything out and paint it when the temps are above 50 degrees.
After I finish the list, the build isn't complete but at least the front axle "phase" should be finished.
I'll post some updated pics this weekend.
It seems almost impossible to get any good pictures out of my garage recently. It's been dark when I've had the opportunity to take pictures and the flash reflects on the unpainted metal. Regardless, I managed to snap some shots and add HDR effect to clear up the pictures.
Balljoints, Tie-rods, Camber shims
After the first test drive, I quickly found that the ball joints and tie rods needed replacing. Took an entire weekend to replace everything but I did learn a whole lot about working on the front axle.
Then, when I drove the VX to the shop for gears, everything felt tight BUT, I could barley keep the VX on the road. I'm surprised I wasn't pulled over for drunk driving. I soon realized the positive camber was most likely the cause and required purchasing shims. They're fully adjustable positive or negative camber 1/8th* -1-1/2.*
I may need an alignment shop to dial everything in perfectly but I'm hoping this adjustment fixes most of the wander.
...and once again, sorry for the picture quality!
Pulled the knuckle for ball joint replacement
Installing the camber shim
Camber shim installed
Airing up the ORI struts
These things are pretty cool! They have two Schrader valves on the top and bottom of the strut. The bottom valve controls the shock stiffness & damping. The top valve controls ride height.
Need a little more lift? Just...
Attach Nitrogen regulator hose to top Schrader valve
Open regulator
Measure change in strut shaft, remove air hose, repeat for other side.
Track Bar, Steering
The track bar was difficult to fit but with a little brain storming, I found the room. I’ll get more close-ups of the mounts & brackets after they’re cleaned up and painted.
Tire Placement
The axle/tire ended up 2" forward over stock. This position was dictated by the oil pan & pitman arm and the axle fits snugly between the two.
Width
My front wheel pattern is 5x5.5. This can be converted to 6x5.5 with a swap of the knuckle. For now, I found a cheap set of matching wheels in 5x5.5. The offset is -6 and my rears are +6. Which matching offsets, the tires will almost have identical widths. --front should be slightly wider for tracking.
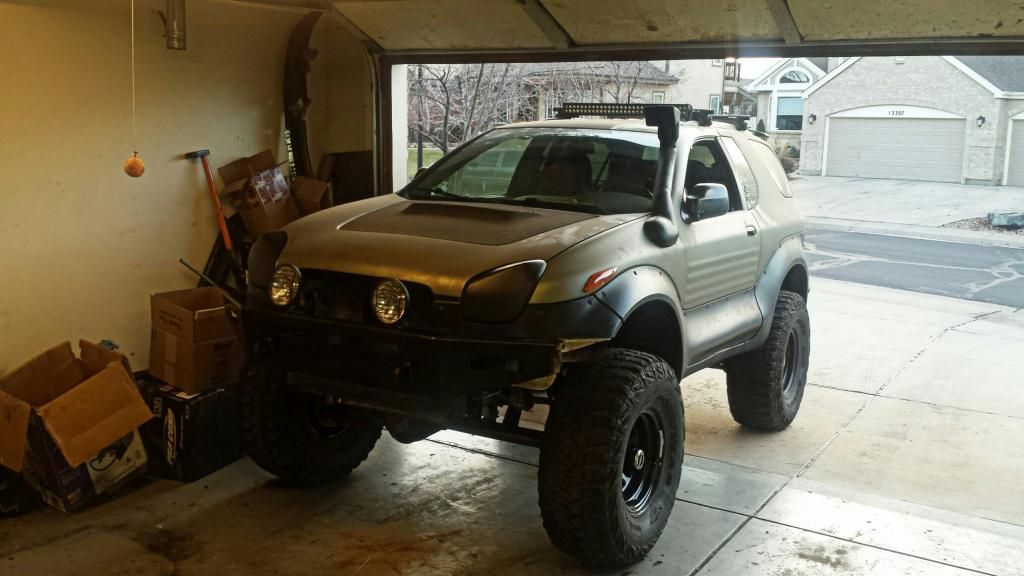
Here's a quick shot I took of the VX yesterday before it got dark. Just starting ZU makes me miss driving it! Unfortunately, I'm not quite ready to hit the road again. Obviously it also needs a wash with the nice layer of metal cutting dust covering the entire exterior.

Last edited by VXorado : 11/28/2014 at 09:37 AM
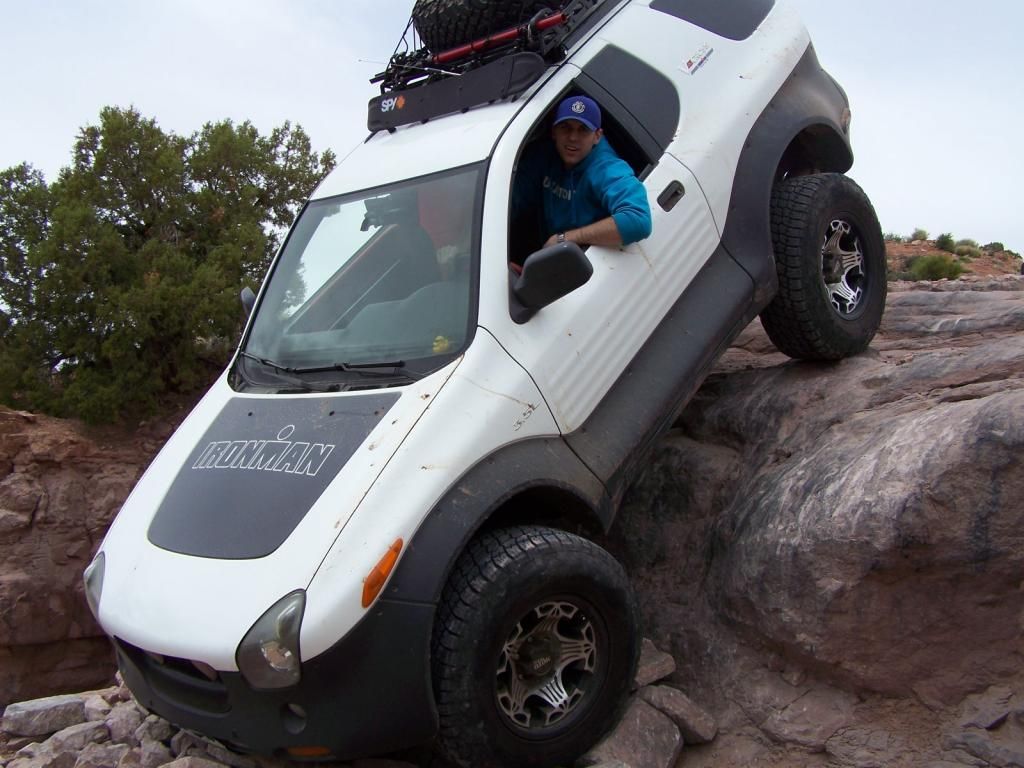
On a side note... I just found these pics on an old camera I used during the 2010 Moab trip. I remember I forgot my memory card and was limited to about 20 pics on the internal memory. I replaced the batteries in the camera last weekend in an attempt to get better quality pics in the dark garage and I found these hidden gems! Doesn't look like the same Vehicross!
THE WALL on Steel Be... uh I mean Hello Kitty Canyon!

Last edited by VXorado : 12/03/2014 at 11:10 AM
You can't hear it but I am cat-calling your VX right now!
it now must feel even more
Really nice job with the drag link & track bar symmetry!
I'm so glad it is not another
So what are you planning to do to even out the ride height?

I think I'll try out these Coil Springs
They're around 200 lb/in and should be somewhat comparable to the 919s I'm currently running. I'm planning to cut the coil springs down to the height and use the 2" poly spacer to help seat the coil to the frame.
I've also ordered material to build all 3 rear controls arms. Not only are mine bent, but I will need to adjust the rear pinion angle after the extra lift.
...That's about it for now. I currently have the front axle pulled for paint.
where did you get the Matte Sand Metallic vinyl from?
Are you going to fab retainers to keep the springs in place?
Billy Oliver
15xIronman
My Sponsors:
Accelerate3Coaching
TriSports.com (PM me for 1 time use 20% off code)
Phase 6: Rear Axle Lift & Changes
Here's the plan:
- Taller coil springs
- Longer brake lines
- Longer shocks
- New control arms
- Install sway bar (it was removed years ago)
- Clean up and paint
I got the coil springs in earlier this week! They're just a bit taller than OME 919s but offer 2-3" more lift because they lack the soft progressive spring. As for width, they're nearly a perfect match!
RUSTY 4.5" lift WJ Spring vs Old Man Emu 919 Spring
I'll be using a 2" poly spacer to get an even ride height.
The lower control arms definitely need some work and need to be lengthened.
Shocks at full extension (19.5") and new ride height. I'll be ordering some new longer shocks soon.
I need to purchase longer brake lines for the rear axle. It's almost stretched at ride height.
I'll have more parts coming in after Christmas. Still plenty to do before I can consider this project complete.
I already have the axle-coil spring retainers. I plan get measurements so the sway bar and shocks provide a good amount of travel without allowing the upper spring room to unseat.
I had an issue with too much flex years ago. The poly spacer would fall off the springs on trails in some pretty precarious places. I would then have to find a rock to flex out the rear axle and re-install the poly spacer. To fix the problem, I replaced my longer OME shocks with some cheapie stock length shocks.
This is a good opportunity to optimize the rear travel... benefit from better shocks (Ranchos?)... increase stability by re-installing the sway bar... and sink some more money into this neverending project.
Bitchin! How's the front end feeling now? Tracking better?
There's no 'I' in denial.